When it comes to fashion trends, accessories are easily the royalty of the runways. No matter how stylish of an outfit you have, or how cleverly you coordinate your colors and patterns, it is always those few little details that tie it all together and make for a rounded, chic look. This is also true when it comes to spicing up individual items of clothing, like jeans, sweaters, or tee shirts. One especially popular method of adding a little flair to your combination is using Iron on patches for jackets.
This is a simple but effective way to make a style statement and stand out. Since it allows you to display your beliefs and fashion sense right off the bat, patching your jackets (or other such top clothing) has found its way even into the formal contexts of clothing choices.
If you are interested in adding this interesting bit of fashion to your own style, or if you are a long time patch wearer looking for some handy tricks, you have come to the right place! Below, we outline some useful advice for all stages of patching your jacket: preparing for it, actually ironing the patch on and keeping it in place, and then caring for your new hot jacket afterward.
Iron-on Patches: Be smart about your preparation
There are a few crucial things to consider before you even think to reach for your iron. These are the type of patch that you are dealing with, the kind of fabric that your jacket is made of, the number of patches that you will apply and the appropriate placement for each.
Decorative patches can roughly be categorized into an embroidered fabric, transfer paper patches, and blend-in patches meant to cover up damage or staining. To learn more about the key differences between the two most dominant types, “embroidered” and “plain” fabric patches, you can check out this link. Depending on your patch and its backing, you may need additional materials, so take a close look.
Embroidered fabric patches tend to be stiff and feel thick. The side opposite the embroidered motif is typically covered in what looks like plastic glue. Transfer paper patches, on the other hand, are basically just paper prints without a glossy side. They are too weak to use on ripped fabric, and tend to be somewhat transparent: the fabric they are applied to will show through from underneath unless they are applied to a white surface.
The so-called blend-in patches are fabric, thinner than embroidered ones, and often have a paper backing that you pull off before applying them. They are meant to cover up stains and lighter tearing; therefore they are designed to blend in with the color and texture of the original fabric. If you have some more serious tears to deal with, you can find some creative and stylish ways to fix them at this link: Click here
The best base for applying iron-on patches are cotton and denim. Delicate materials like silk should be avoided at all costs, while leather and polyester can be damaged or discolored by heat, so be careful. Always check the care instructions to see whether your jacket can be ironed and at what temperature, and try to choose a fabric at least as heavy as the actual patch.
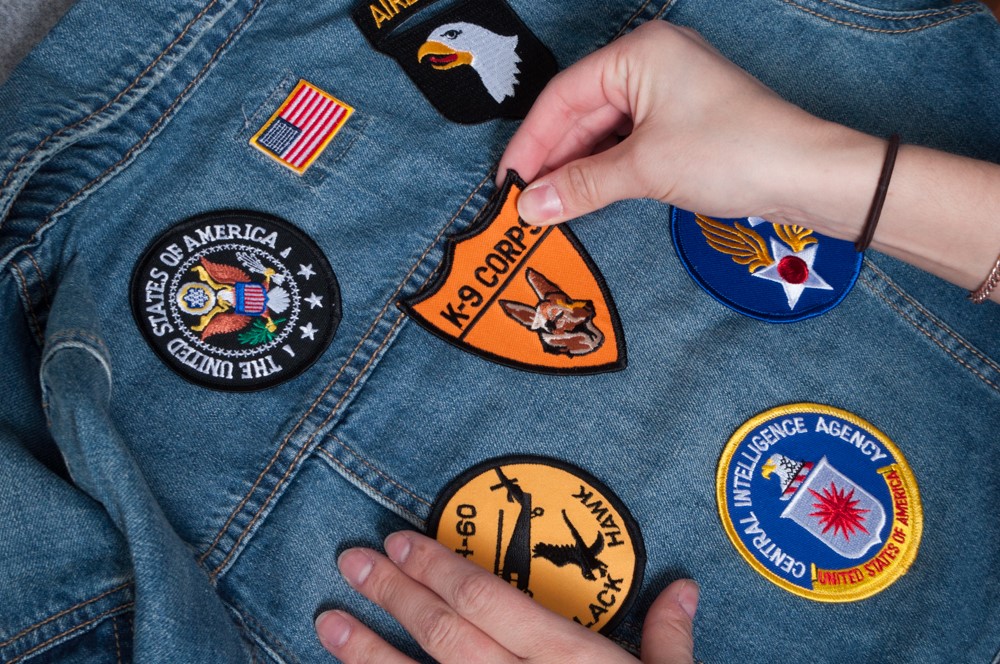
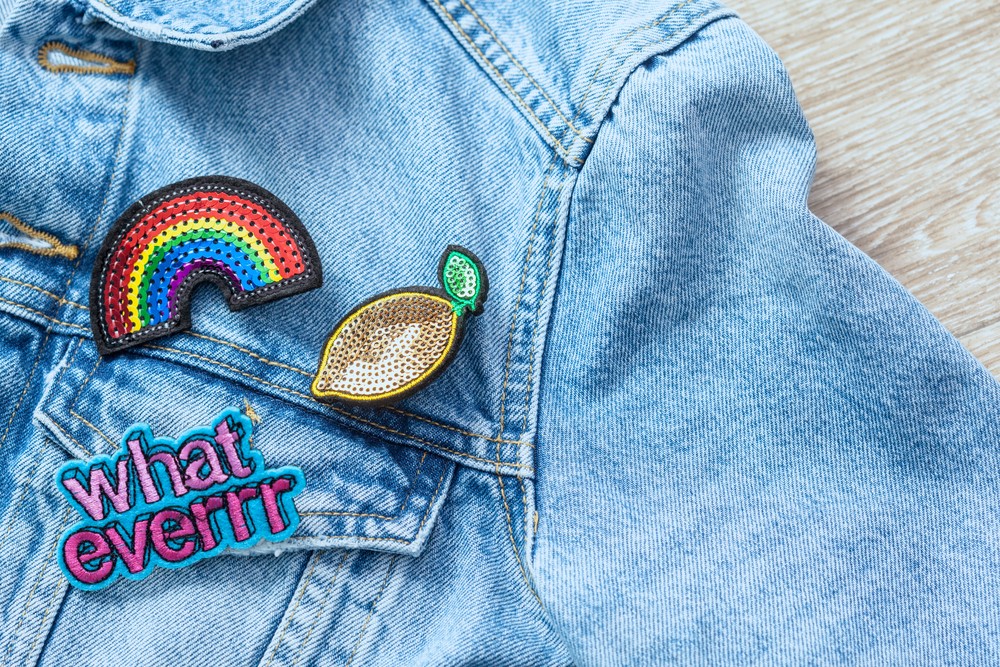
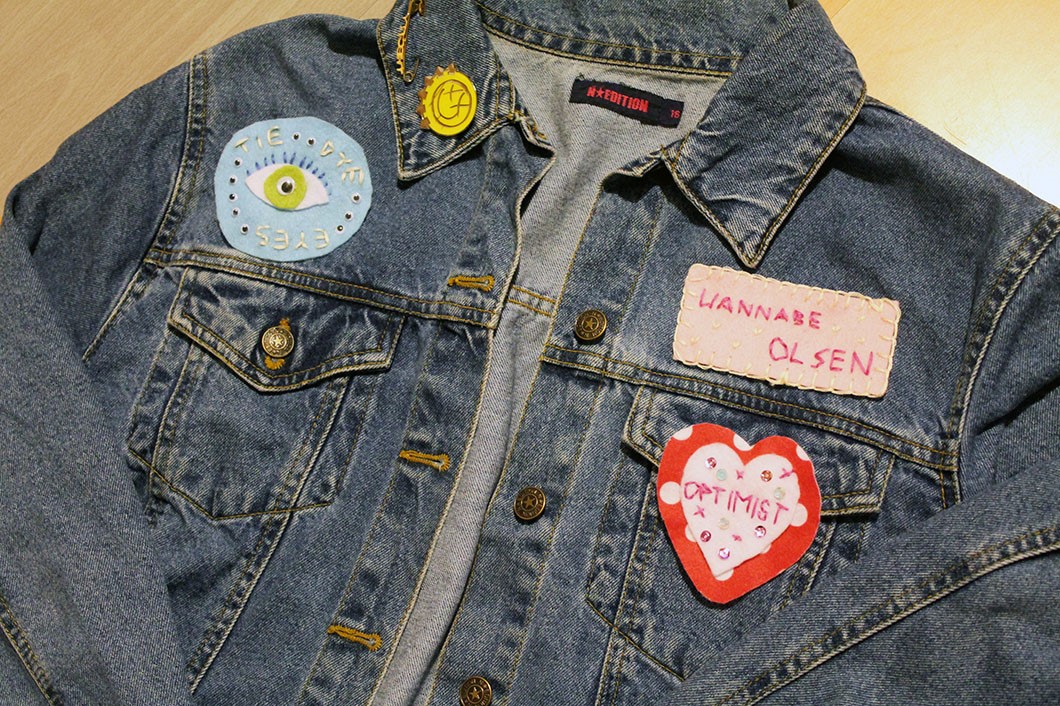
As far as patch placement goes, remember that paper transfer ones will always appear reversed, so place them sufficiently far from the edges if they are asymmetrical. If you will apply only one patch, feel free to go for a prominent spot which is clearly intentional. If, however, you plan to add more over time, like a collection, plan ahead for spare space. Small groups of three to five patches look best in either a cluster or spaced out in a geometrically pleasing pattern, like a triangle between the shoulders and waist.
Iron-on Patches: Make your application process fail-proof
Do the work on a flat, heat-resistant surface. If you are short of an ironing board, place a doubled bath towel on a sturdy table as an alternative. To ensure proper contact, iron your jacket before you apply the patch.
Set your iron to the highest temperature your material can tolerate but make sure that the steam is turned off and there isn’t a lot of water in the iron. Protect the patch and surrounding fabric with a thin towel, or plain paper in a pinch.
Applying heat and pressure for about 15 seconds will usually do the trick, but sometimes the edge of the patch will lift up if you rub it with your finger after it is cooled a bit. In that case, iron it again for another 10 seconds.
If you are applying a paper transfer patch, take care to remove the paper only after it has completely cooled down. This typically requires a minimum of ten minutes.
Iron-on Patches: Adjust your maintenance

The biggest concern with iron-on patches is that, even though they are permanent in theory, in practice, no matter how firmly you press down your iron, they will gradually loosen up. Therefore, you should have a few backup strategies ready to prevent this or to at least control the damage.
First off, consider sewing your patch down after it has completely cooled off from the iron. Click here to learn about the basic sewing stitches that any beginner can learn, both for hand sewing and using sewing machines. Choose a thread that matches the patch color or design, and run some solid stitches around its outer edge. This will help keep it flat and firmly in place, prevent damage from rubbing the edges, and even add to the aesthetic.
The other major maintenance tip is adjusting the washing. To keep the patch on for as long as possible, try to avoid any staining etc. which would call for more frequent washing. When you do need to wash the jacket, hand wash it in cold or cool water and let it air dry.
Recommendation: Jivaana, a one-stop store for all your ethnic necessities
*$PON$ORED*
this was extremely useful for a metalhead like me 😉
We buy a favorite jacket. But sometimes we like our patches on our jacket And by the way, we can not find the jacket. That’s why I am searching on Google for such blogs that could tell me the idea of patches on the jacket and I found your blog, I found useful information from your blog.
Glad you found what you were looking for!